SubtitleGen 101: A Beginner’s Guide for New Users to Generate Subtitles
New to subtitles? This SubtitleGen guide helps you create them easily—solve accessibility issues and reach more viewers fast!
If you’ve ever wanted to add subtitles to your videos or audio files but didn’t know where to start, you’re in the right place! Welcome to SubtitleGen, an AI-powered tool designed to make subtitle creation simple, fast, and fun. Whether you’re a content creator, a teacher, or just someone who wants to make their media more accessible, SubtitleGen has you covered. In this beginner’s guide, we’ll walk you through everything you need to know to get started—no tech skills required. Let’s dive in!
Why Subtitles Matter
Subtitles aren’t just a nice-to-have—they’re a game-changer. They make your content accessible to people who are deaf or hard of hearing, help non-native speakers follow along, and even let viewers watch your videos in noisy places (hello, coffee shop warriors!). With SubtitleGen, you can create and customize subtitles in minutes. Ready to see how it works? Let’s get started.
Getting Started with SubtitleGen
First things first: head over to SubtitleGen. The website is super easy to navigate, and you’ll be creating subtitles in no time. SubtitleGen supports a ton of languages for transcription and translation—check out the full list at supported languages to see what’s available. No complicated setup here—just a clean, user-friendly tool waiting for you to explore.
Generating Subtitles: Two Easy Methods
SubtitleGen gives you two simple ways to create subtitles. Pick the one that works best for you!
Method 1: Transcribing Audio or Video Files
Got a video or audio file you want subtitles for? Here’s how to do it:
Upload or Import: Click to upload a file from your computer (it supports all the popular formats like MP4 or MP3), or paste a URL if your file is online.
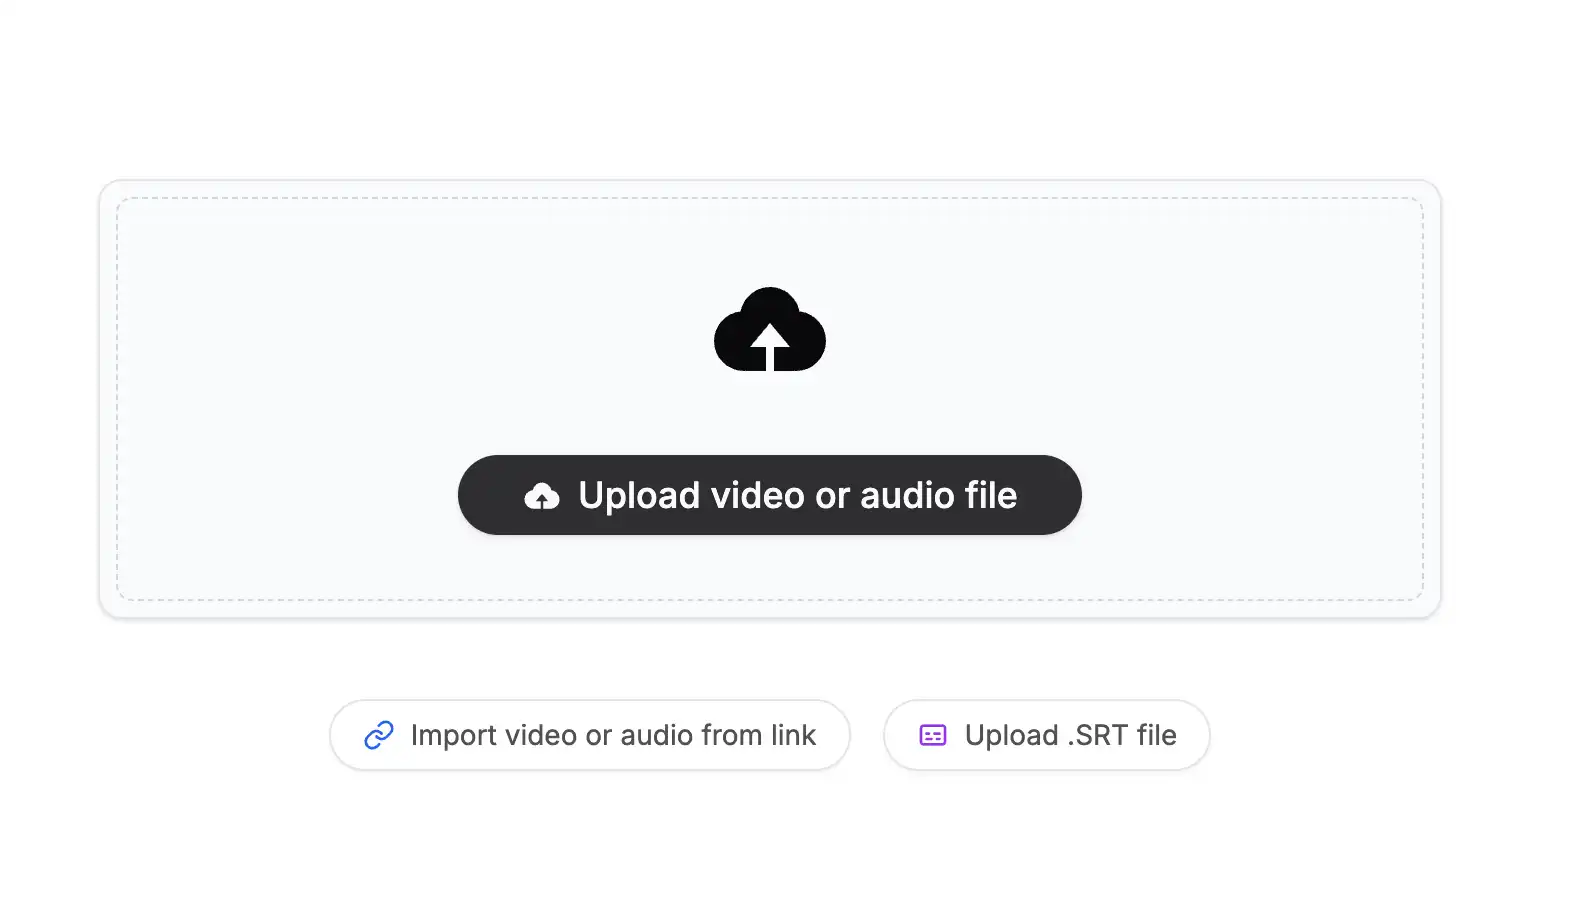
Pick a Language: Choose the language spoken in your file—like English, Spanish, or whatever fits.
Start Transcribing: Hit the “Start Transcribing” button, and let the AI do its thing. It’ll listen to your file and turn the words into subtitles automatically.
Boom—you’ve got subtitles! It’s that easy.
Method 2: Uploading an Existing SRT File
Already have a subtitle file in SRT format? You can use that too:
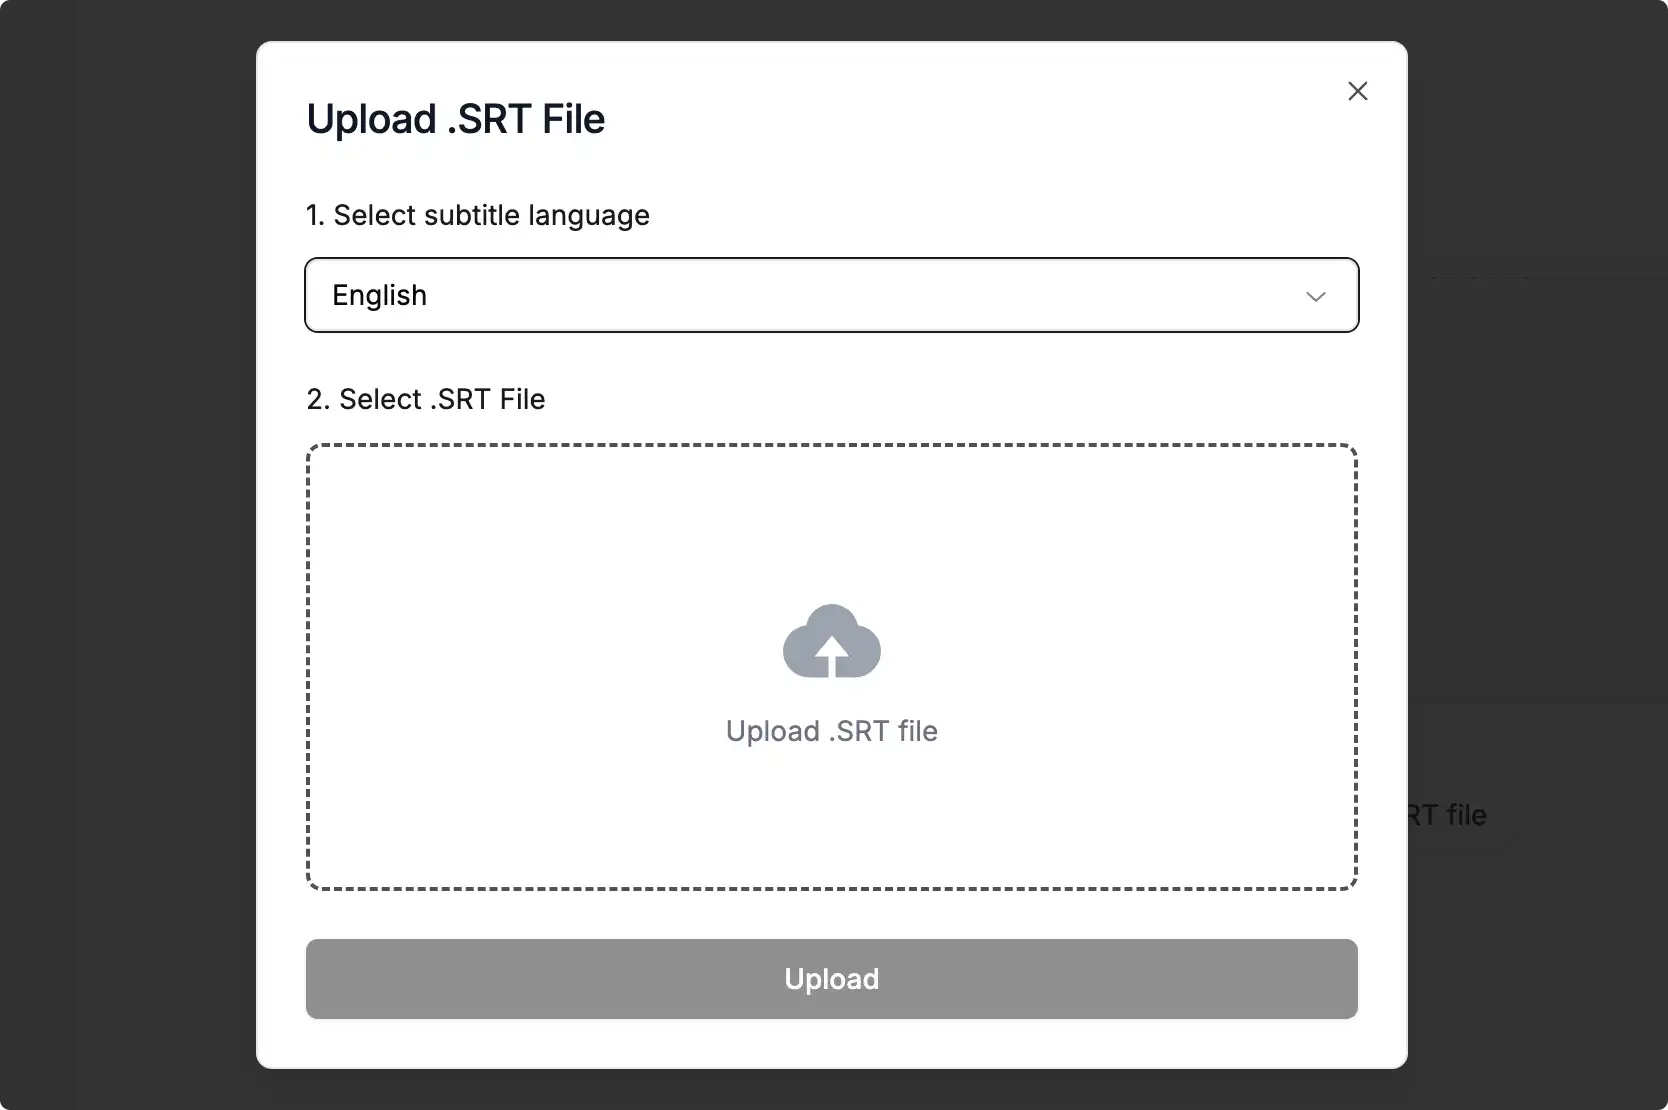
Choose Your File: Select the SRT file from your computer.
Select the Language: Tell SubtitleGen what language the subtitles are in.
Upload It: Click “Upload,” and your subtitles will be ready to work with.
No matter which method you choose, you’re now set to tweak or translate your subtitles. Let’s keep going!
Translating Subtitles with AI
Want to reach a global audience? SubtitleGen’s AI can translate your subtitles into tons of languages—and the quality is amazing (think near-professional level). Here’s how:
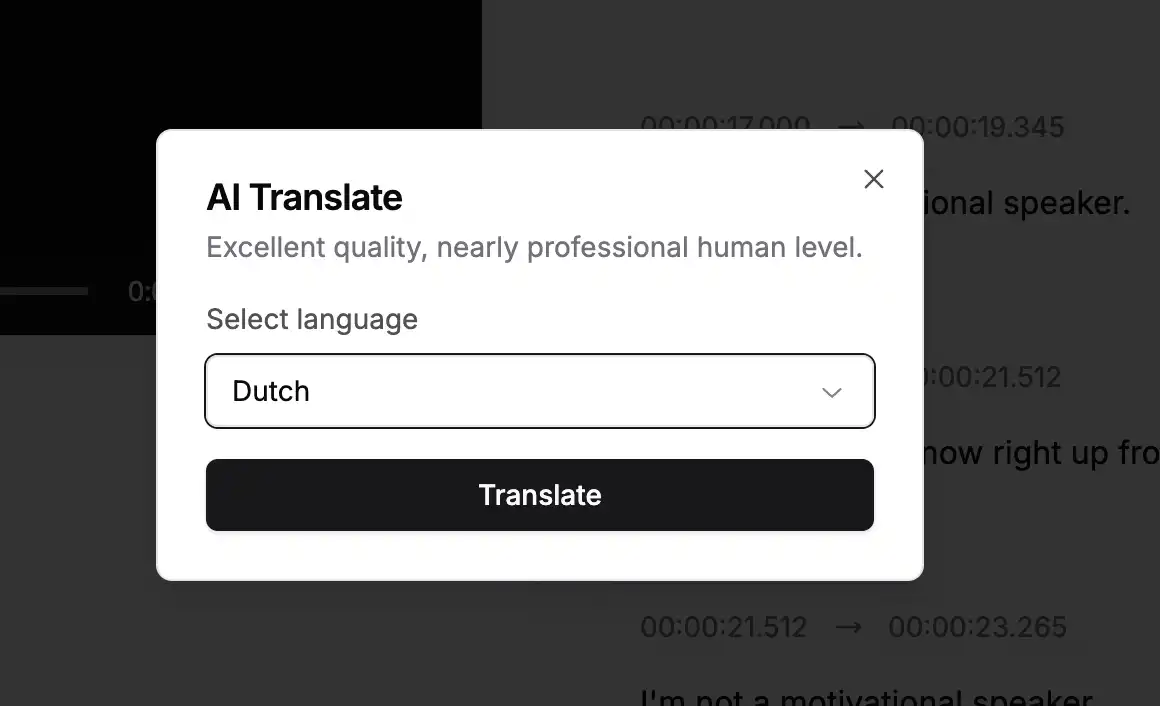
Find the Translate Button: After generating or uploading subtitles, look for the “Translate” button.
Choose Your Language: A popup will appear—pick the language you want (like French, Mandarin, or anything from the list).
Hit Translate: Click “Translate,” and watch the magic happen.
In seconds, your subtitles will be ready in a new language. It’s a fantastic way to make your content accessible to more people without breaking a sweat.
Reviewing and Editing Subtitles
Once your subtitles are generated or translated, you can polish them up. SubtitleGen’s editing tools are super beginner-friendly. Here’s what you’ll see:
Left Side: Your video or audio plays here, with the subtitles synced up so you can follow along.
Right Side: A list of all your subtitles, searchable if you need to find something specific.
Need to make changes? No problem! You can:
Add a New Subtitle: Insert a fresh line wherever you want.
Split a Subtitle: Turn one long subtitle into two shorter ones.
Merge Subtitles: Combine two lines into one.
Delete: Remove any subtitle you don’t need.
Edit Text: Fix typos or tweak the wording.
Adjust Timing: Change the start and end times so everything lines up perfectly.
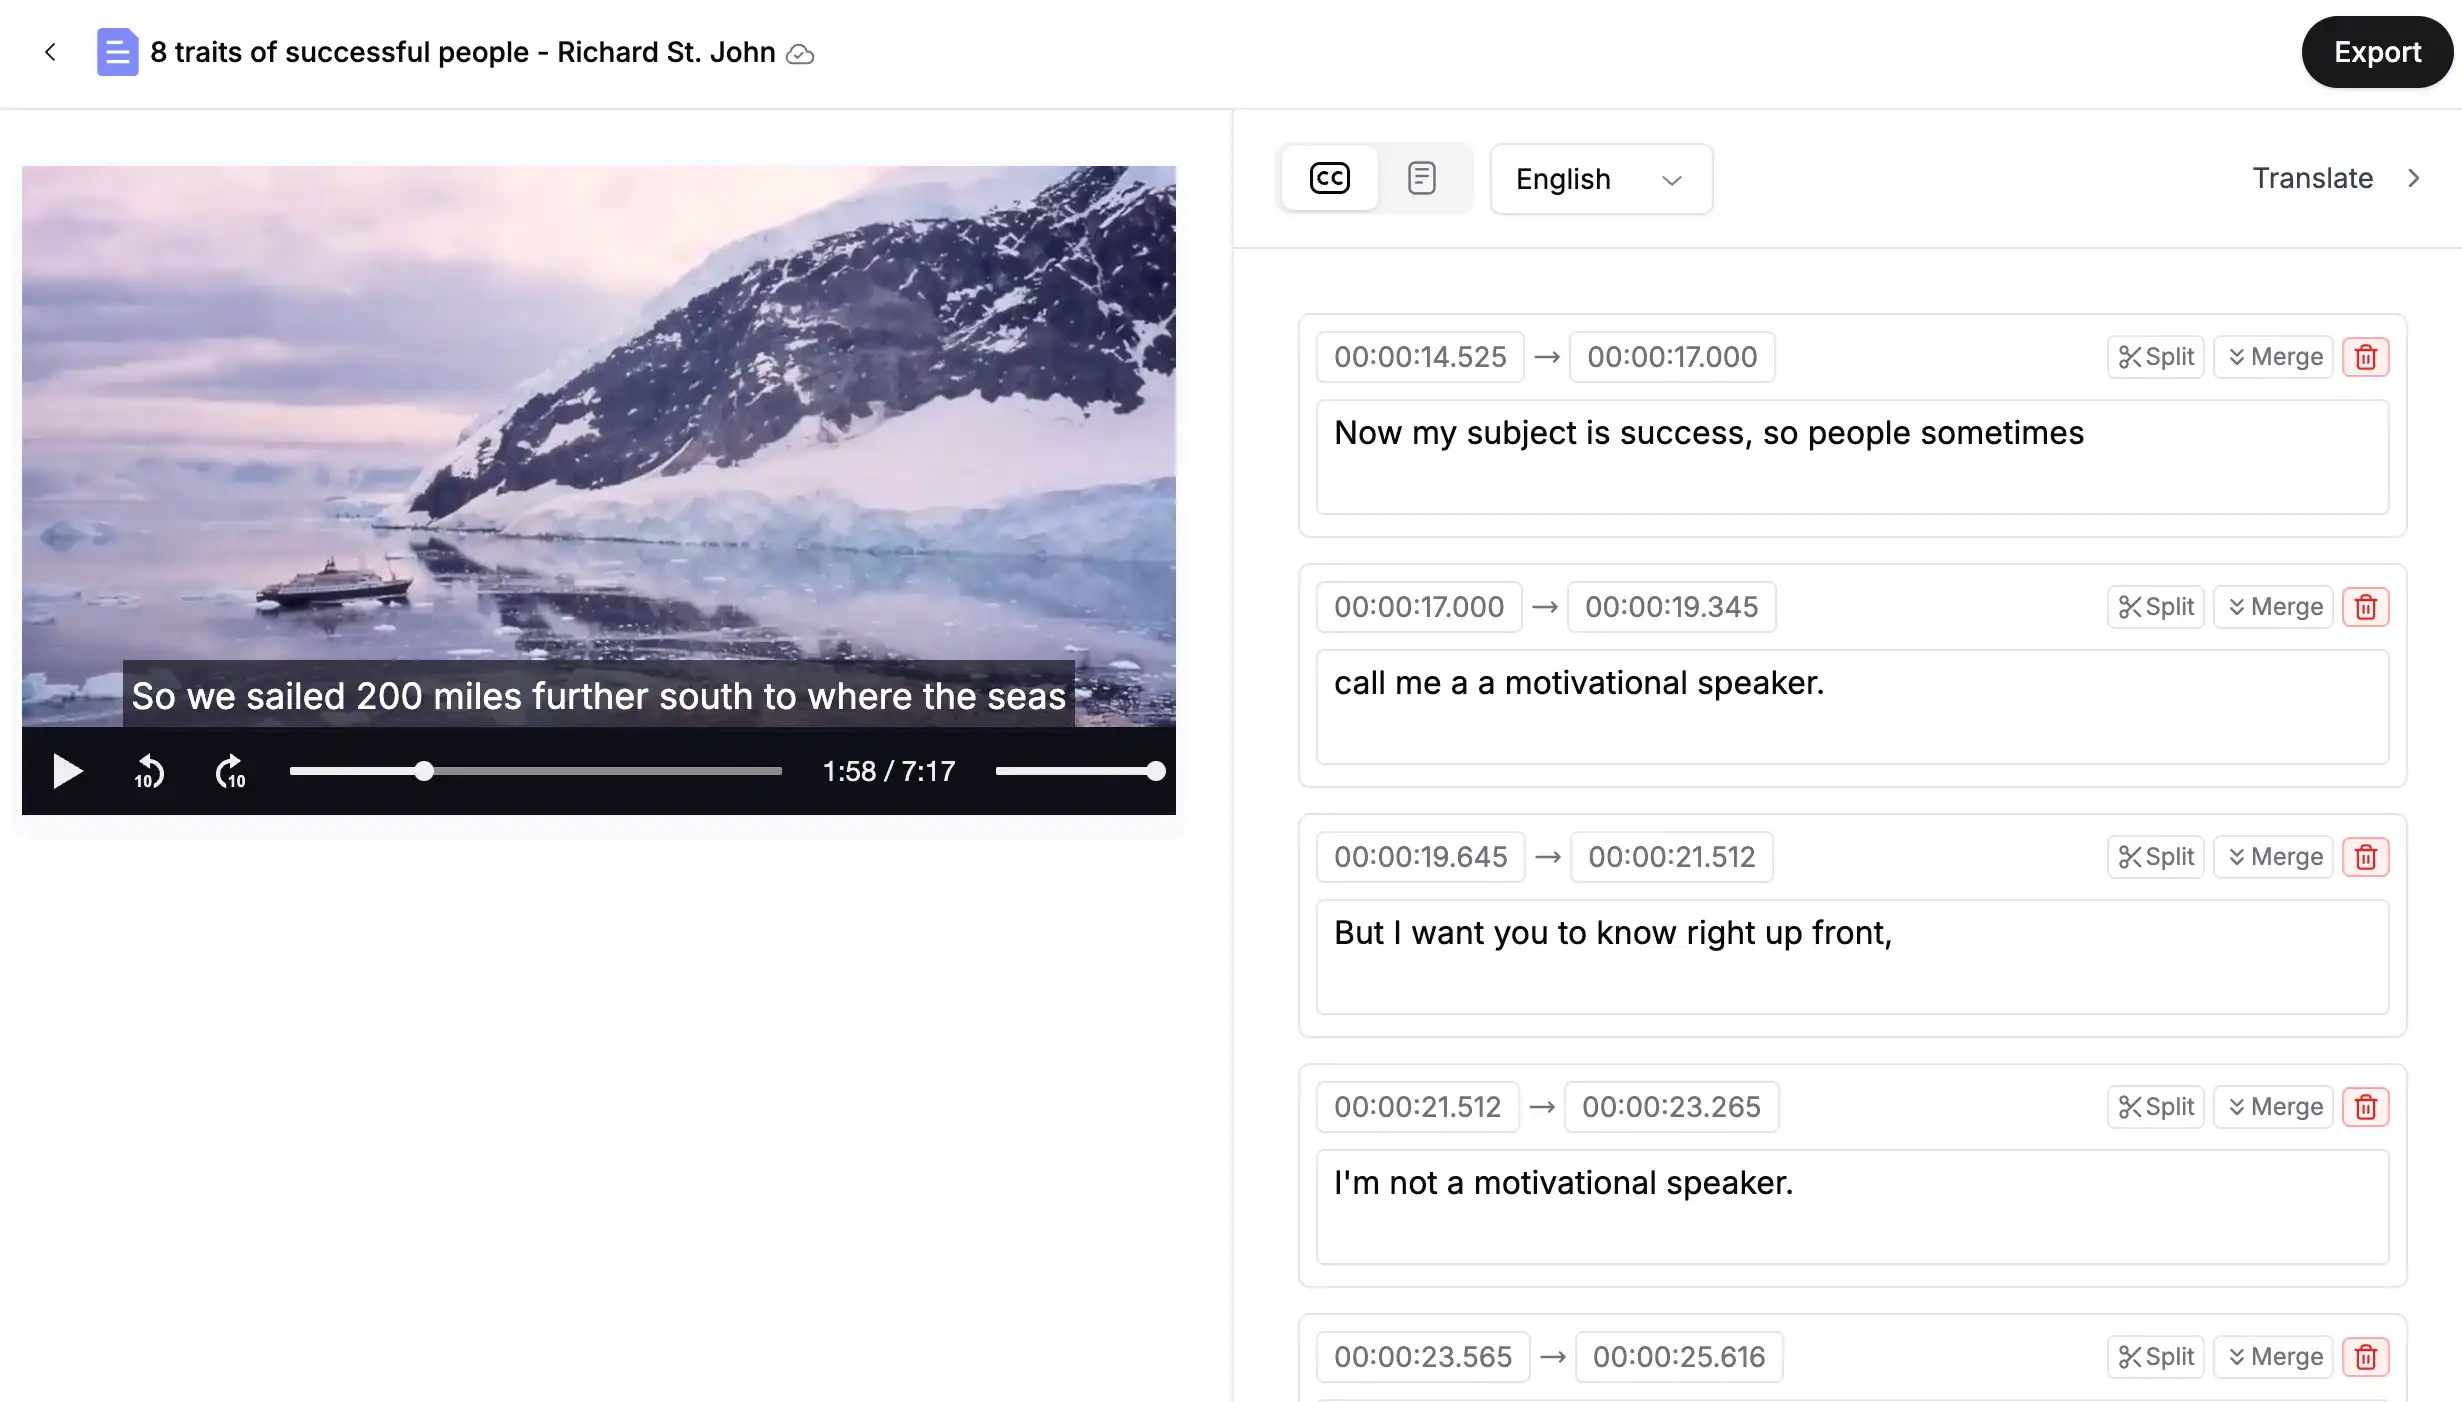
Play around with these options—it’s all about making your subtitles just right. The synced playback makes it easy to spot what needs fixing.
Exporting Your Subtitles
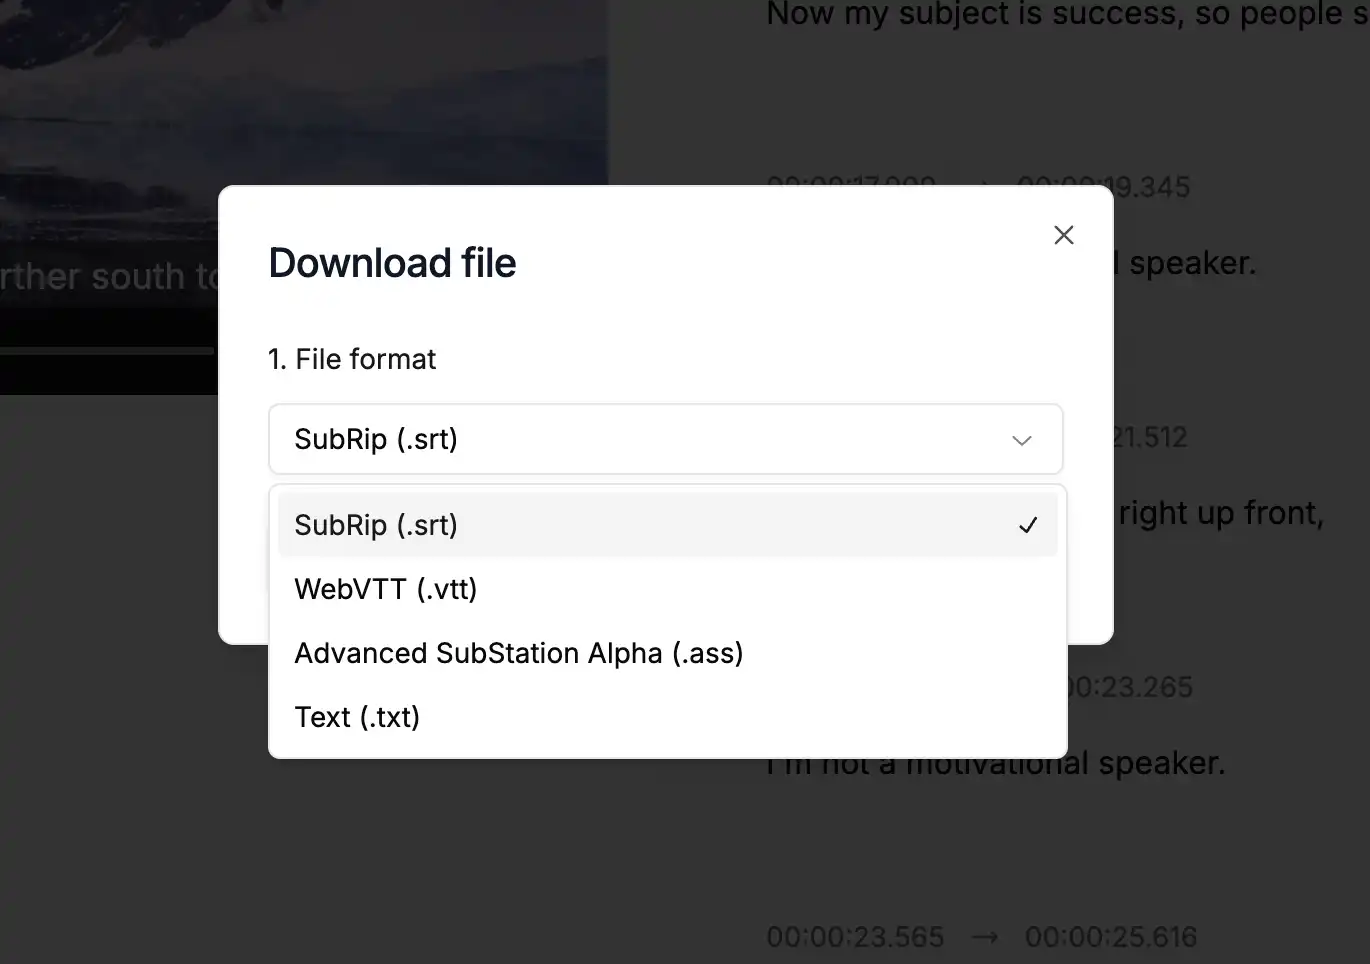
Happy with your subtitles? Time to save them! SubtitleGen lets you export in multiple formats, so you can use them wherever you need. Here’s how:
Review Everything: Double-check your work in the editor.
Export: Choose a format like SubRip (.srt), WebVTT (.vtt), Advanced SubStation Alpha (.ass), or plain Text (.txt).
Download: Click to save the file to your device.
That’s it—your subtitles are ready to roll!
Pro Tips for New Users
Before you go, here are a few handy tips to make your SubtitleGen experience even smoother:
Check File Formats: Make sure your video or audio files are in a common format (like MP4 or WAV) to avoid hiccups.
Try Translation: Experiment with different languages to see how your content feels in a new voice.
Use Playback: Watch the video with subtitles on to catch any timing issues.
You’ll be a subtitle pro in no time!
Let’s Wrap It Up
There you have it—your crash course in using SubtitleGen! From transcribing files to translating subtitles, editing them to perfection, and exporting them in your favorite format, this tool makes it all a breeze. Whether you’re captioning a YouTube video, a podcast, or a home movie, SubtitleGen has everything you need to get started.
So what are you waiting for? Click here, upload your first file, and see how easy it is to create subtitles that shine. You’ve got this—happy subtitling!